How to Calibrate the Cerakote MIL Thickness Gauge
- Turn the Power on the Cerakote Mil Thickness Gauge
- First time use: There should be no “data” stored so you can zero-in and calibrate as instructed below.
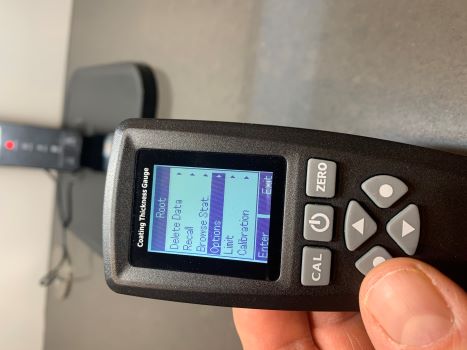
- If you have tried to calibrate without success, before moving forward, be sure to clear all data first. This includes data stored in the Calibration menu (located by using the left Navigation circle button and arrows) and the data stored in the “Delete Data” menu. Clear both the “Current Data” and the “Current Group”.
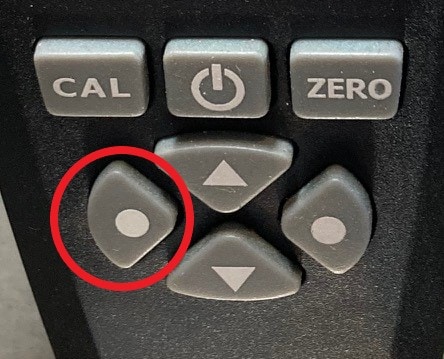
Left Navigation Button
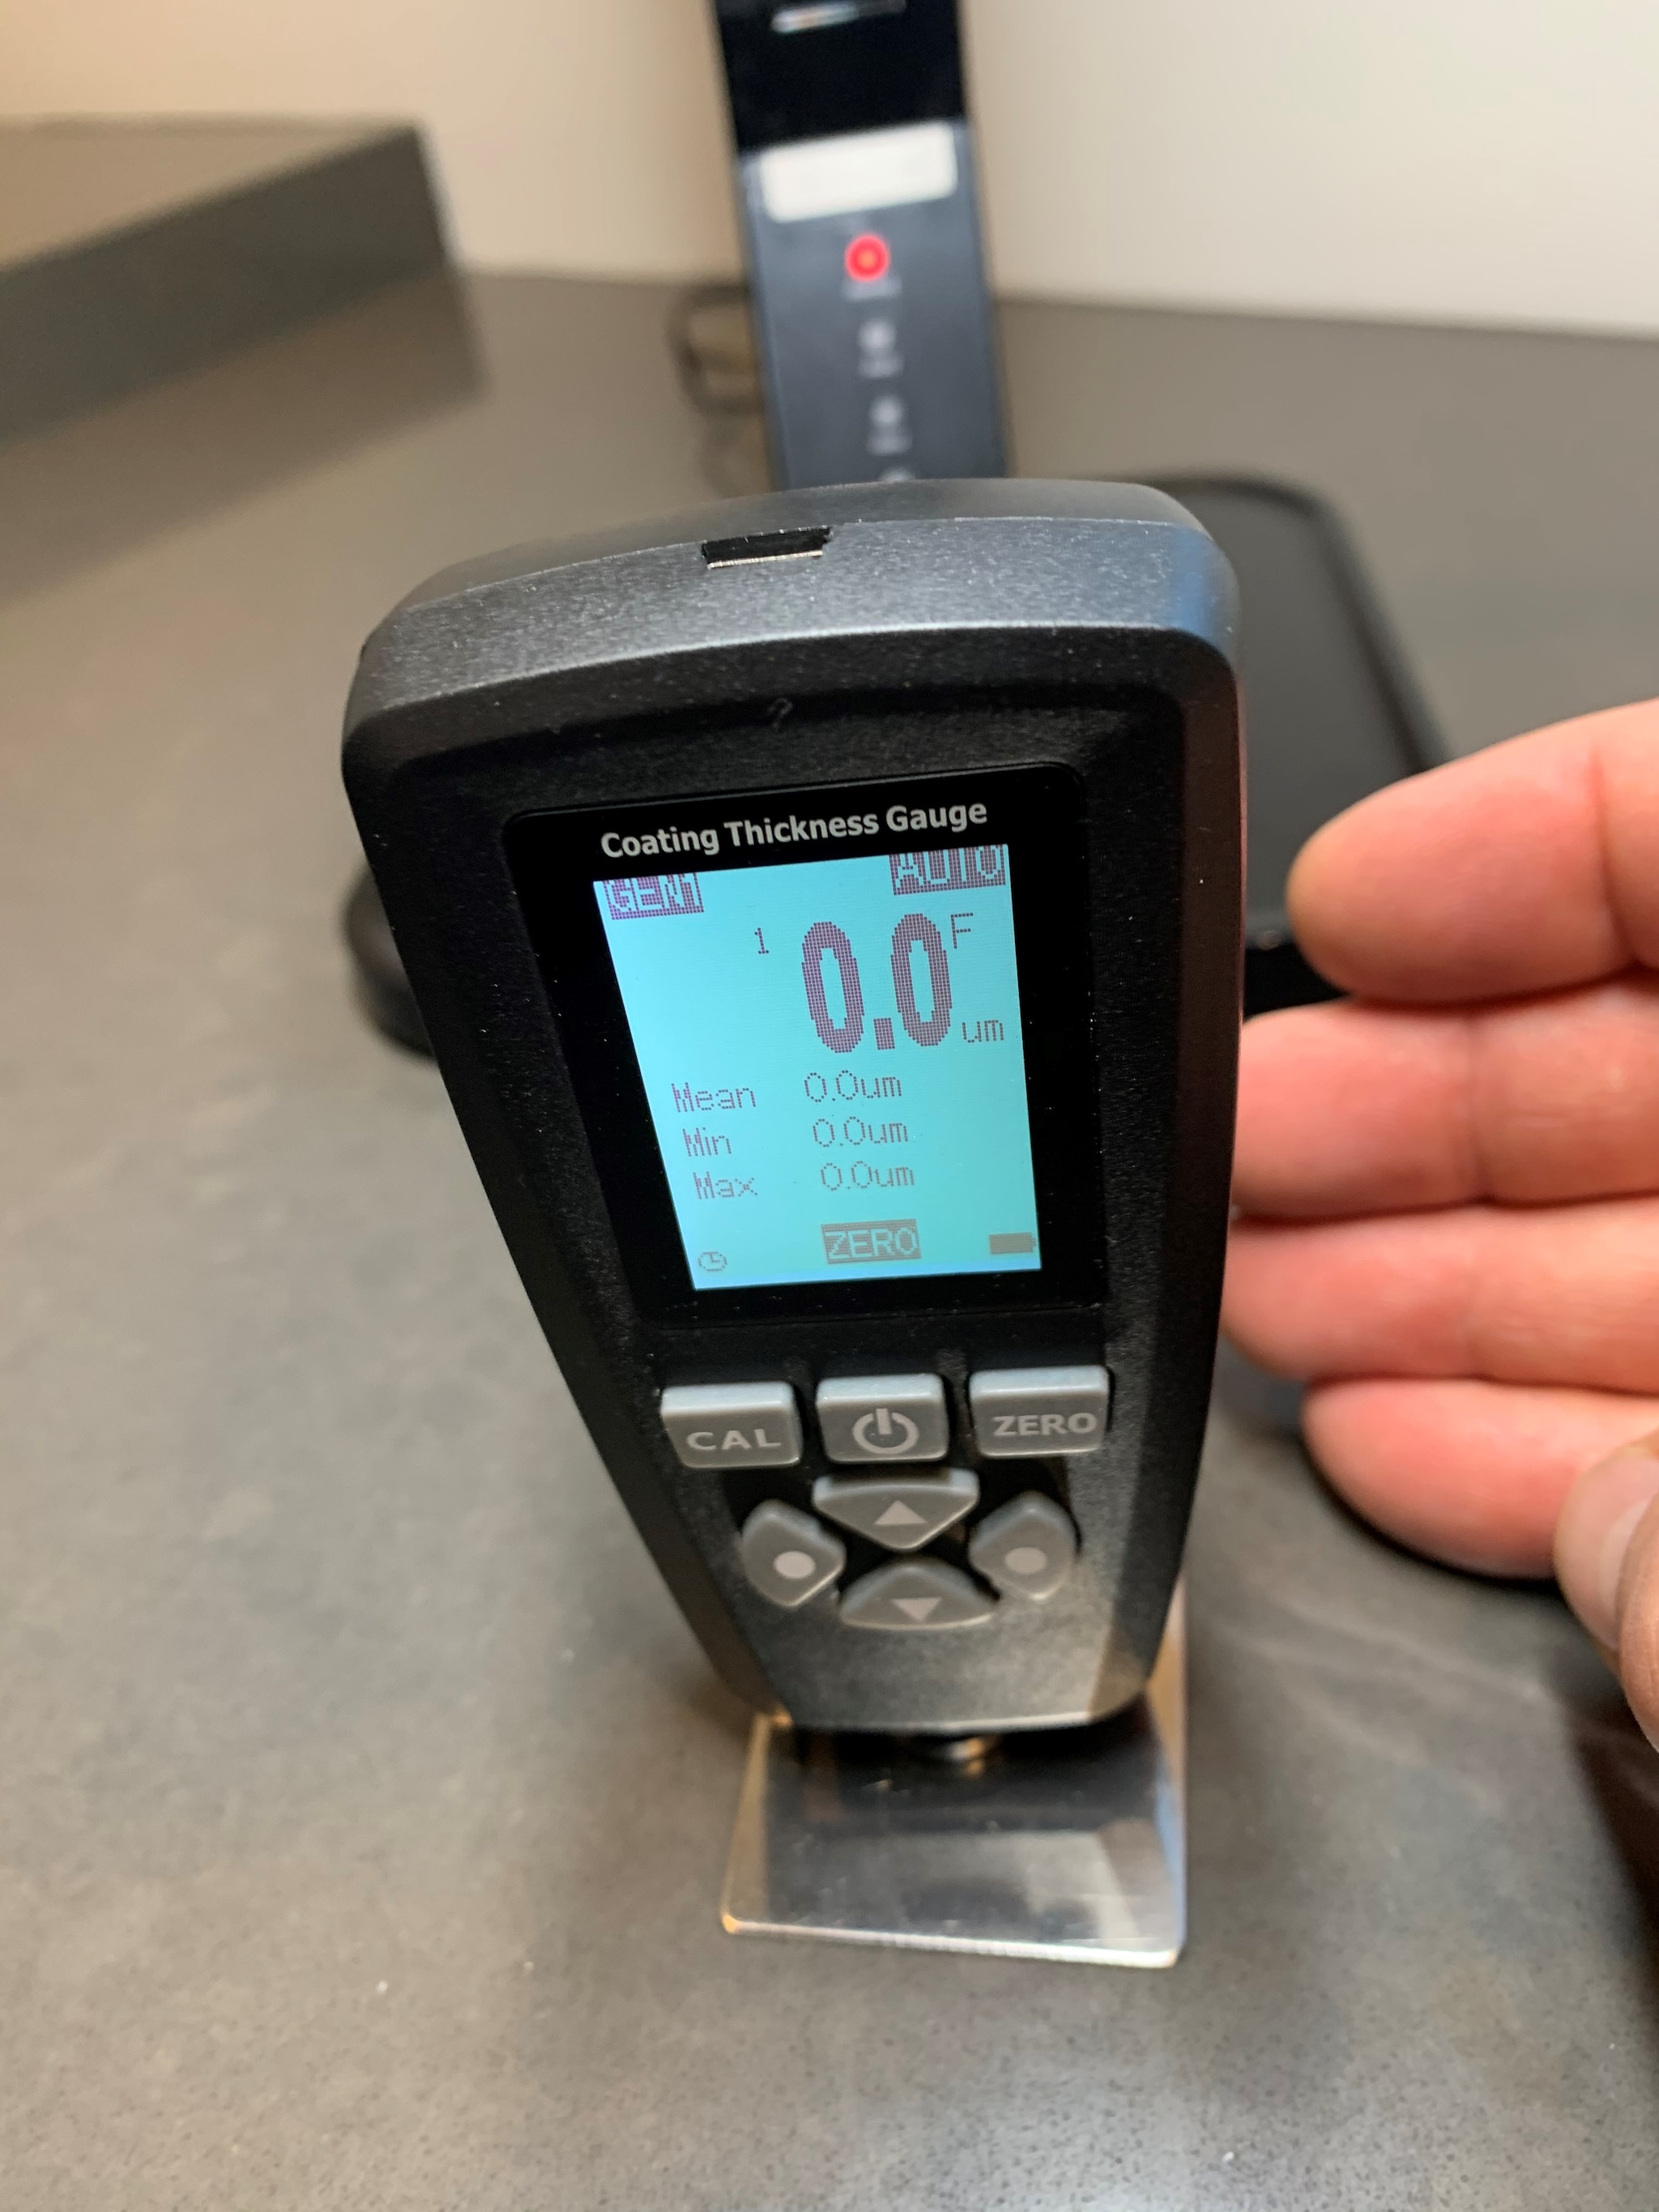
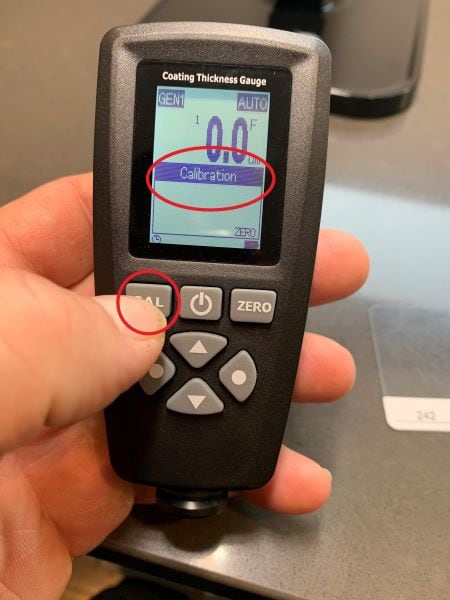
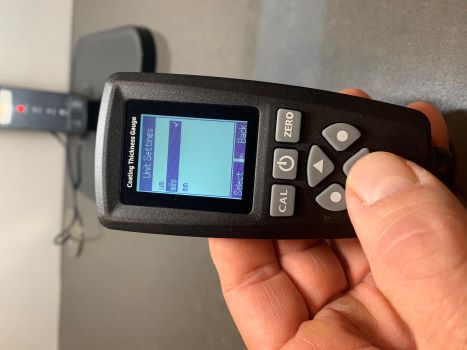
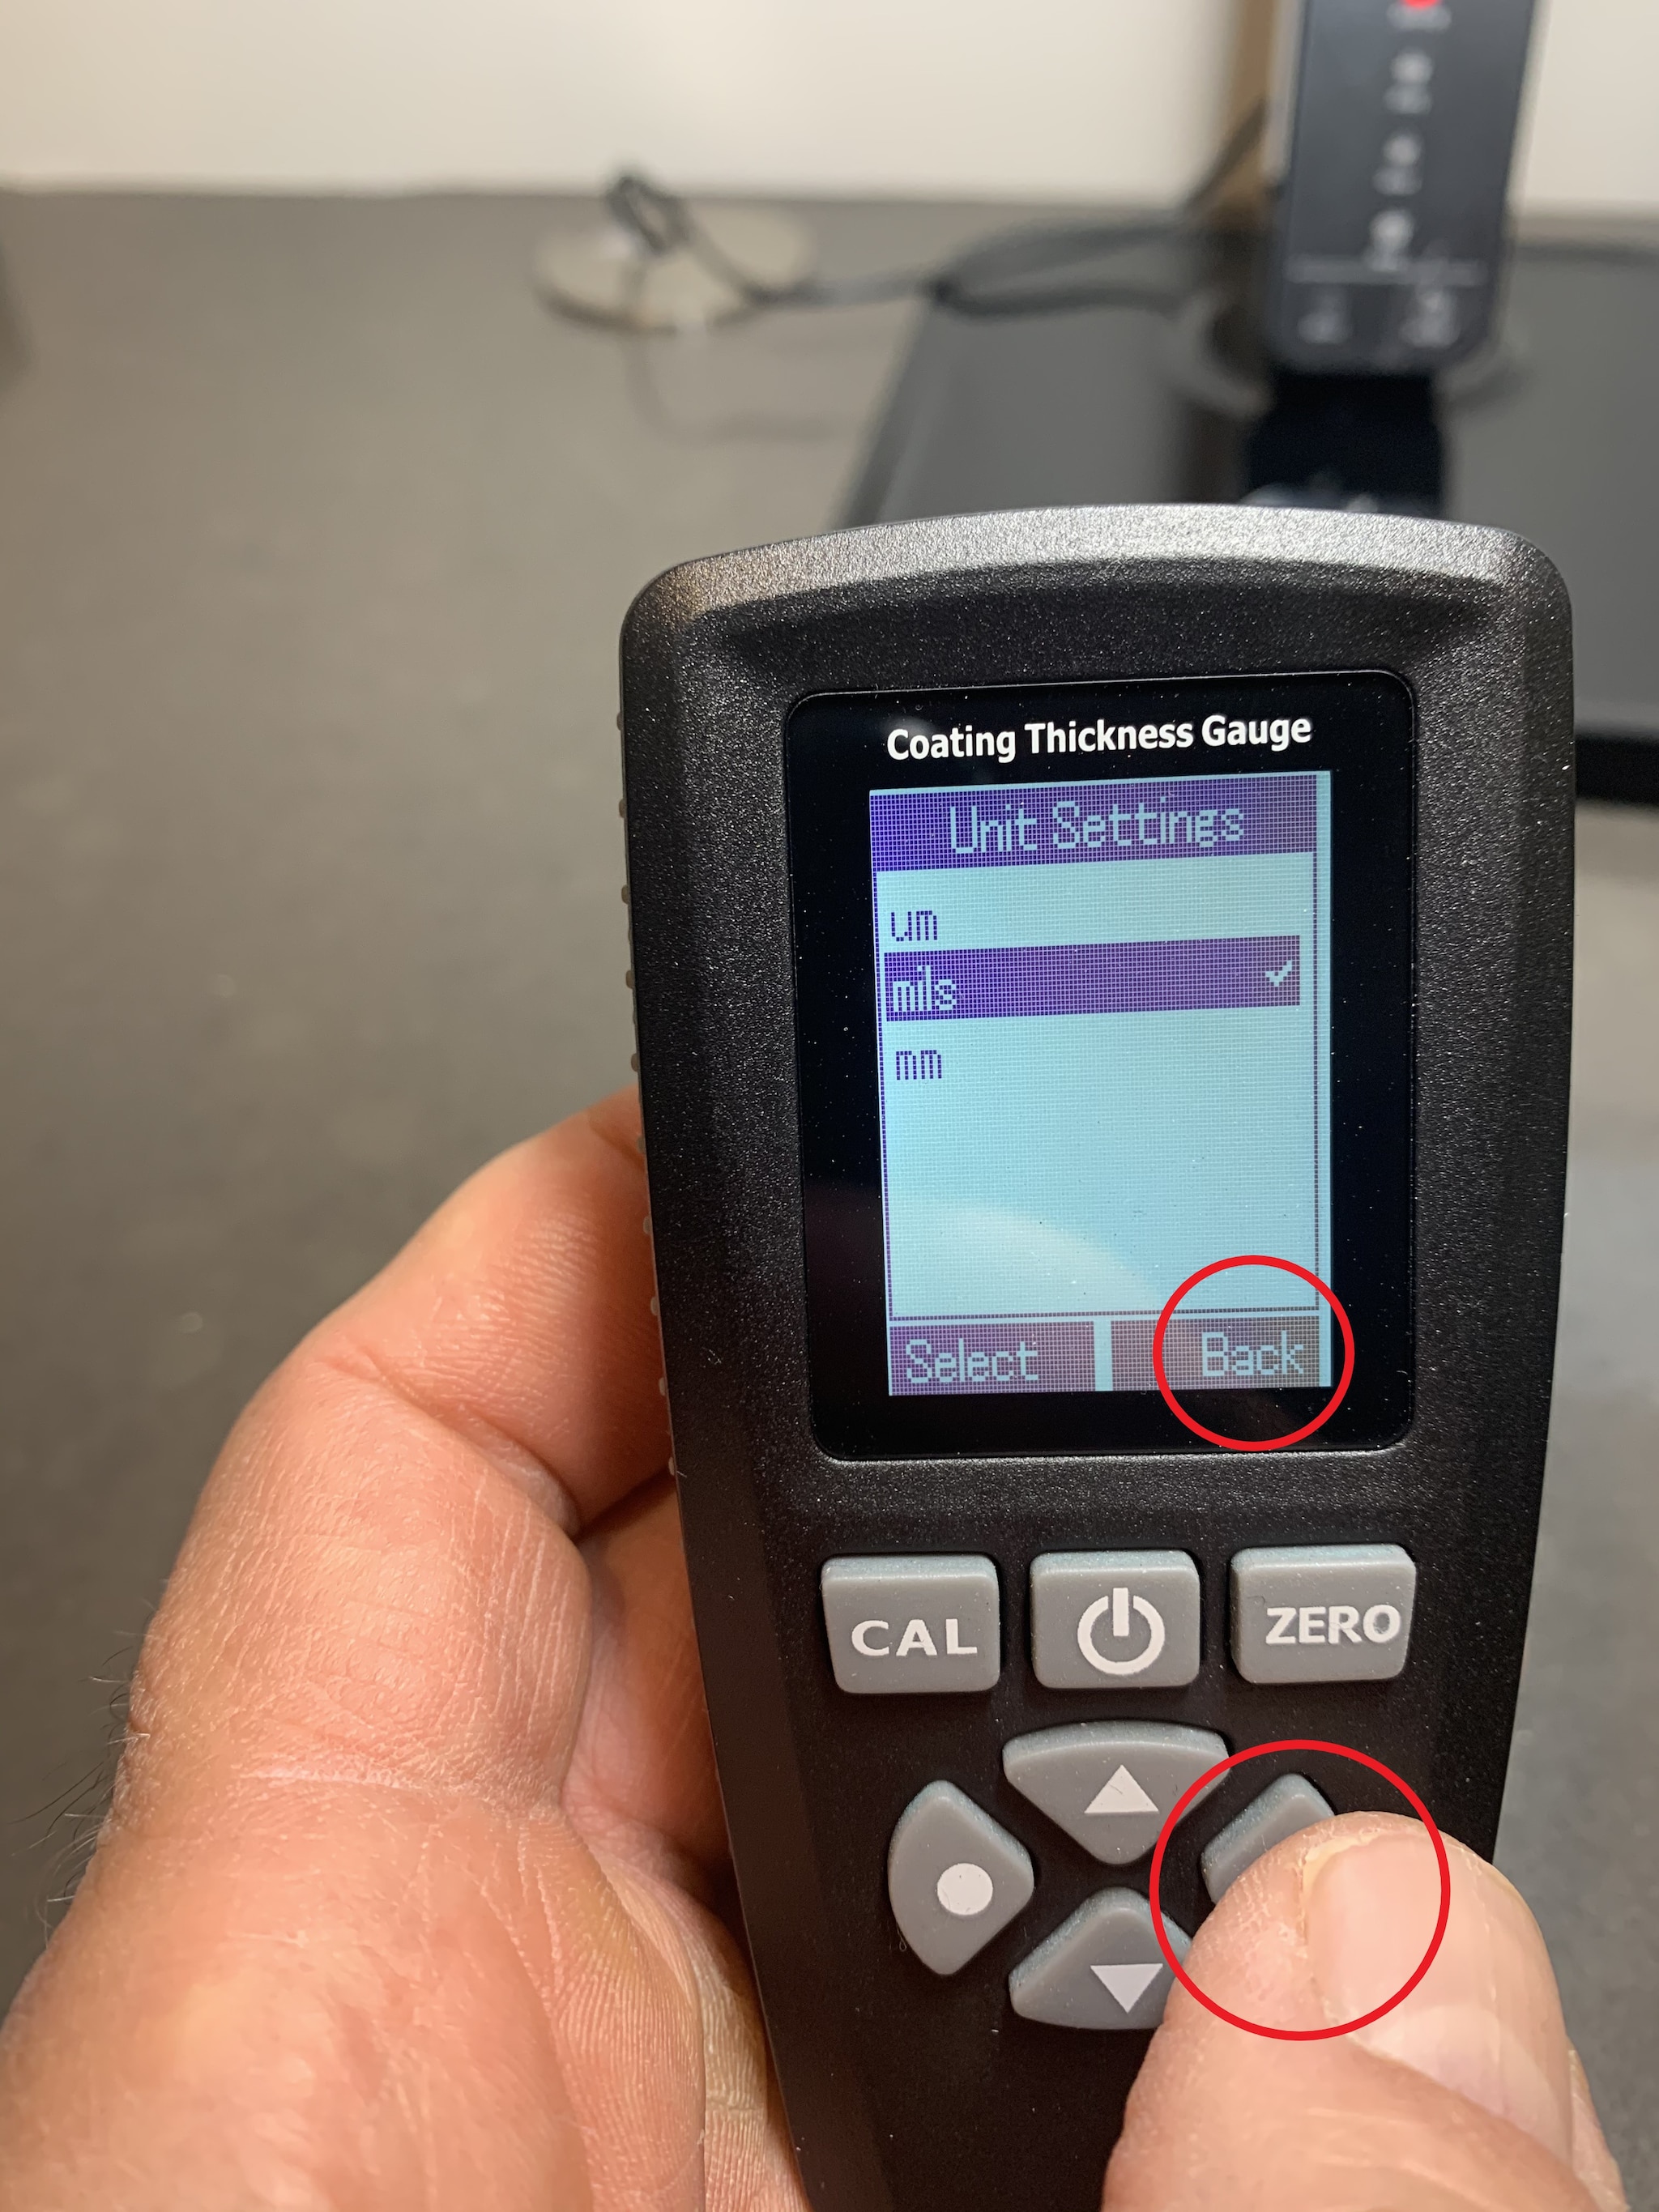
Your screen should look like this:

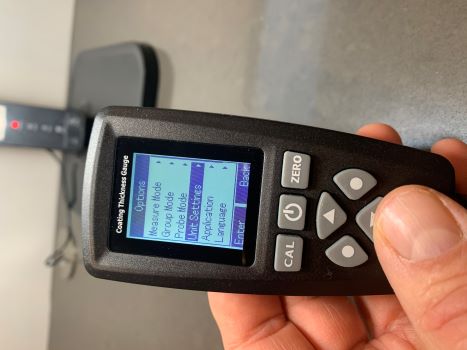
- If “um” is not seen on the right side of the screen, use the left navigation circle button and scroll to Options > Unit Settings > um selection. Press the left navigation circle button (shown as Enter on the screen) to make this selection. Press the right navigation button to exit to the main screen for measuring.
- If “Auto” is not seen on the upper right of the screen, use the left navigation button and scroll to Options > Probe Mode > Auto, using the left navigation circle button (shown as Enter on the screen) to make this selection. Press the right navigation circle button to exit to the main screen for measuring.
- Place the metal shim onto a flat surface and select and hold the “Zero” button for 3 seconds until you see the word “zero” at the bottom of the screen.
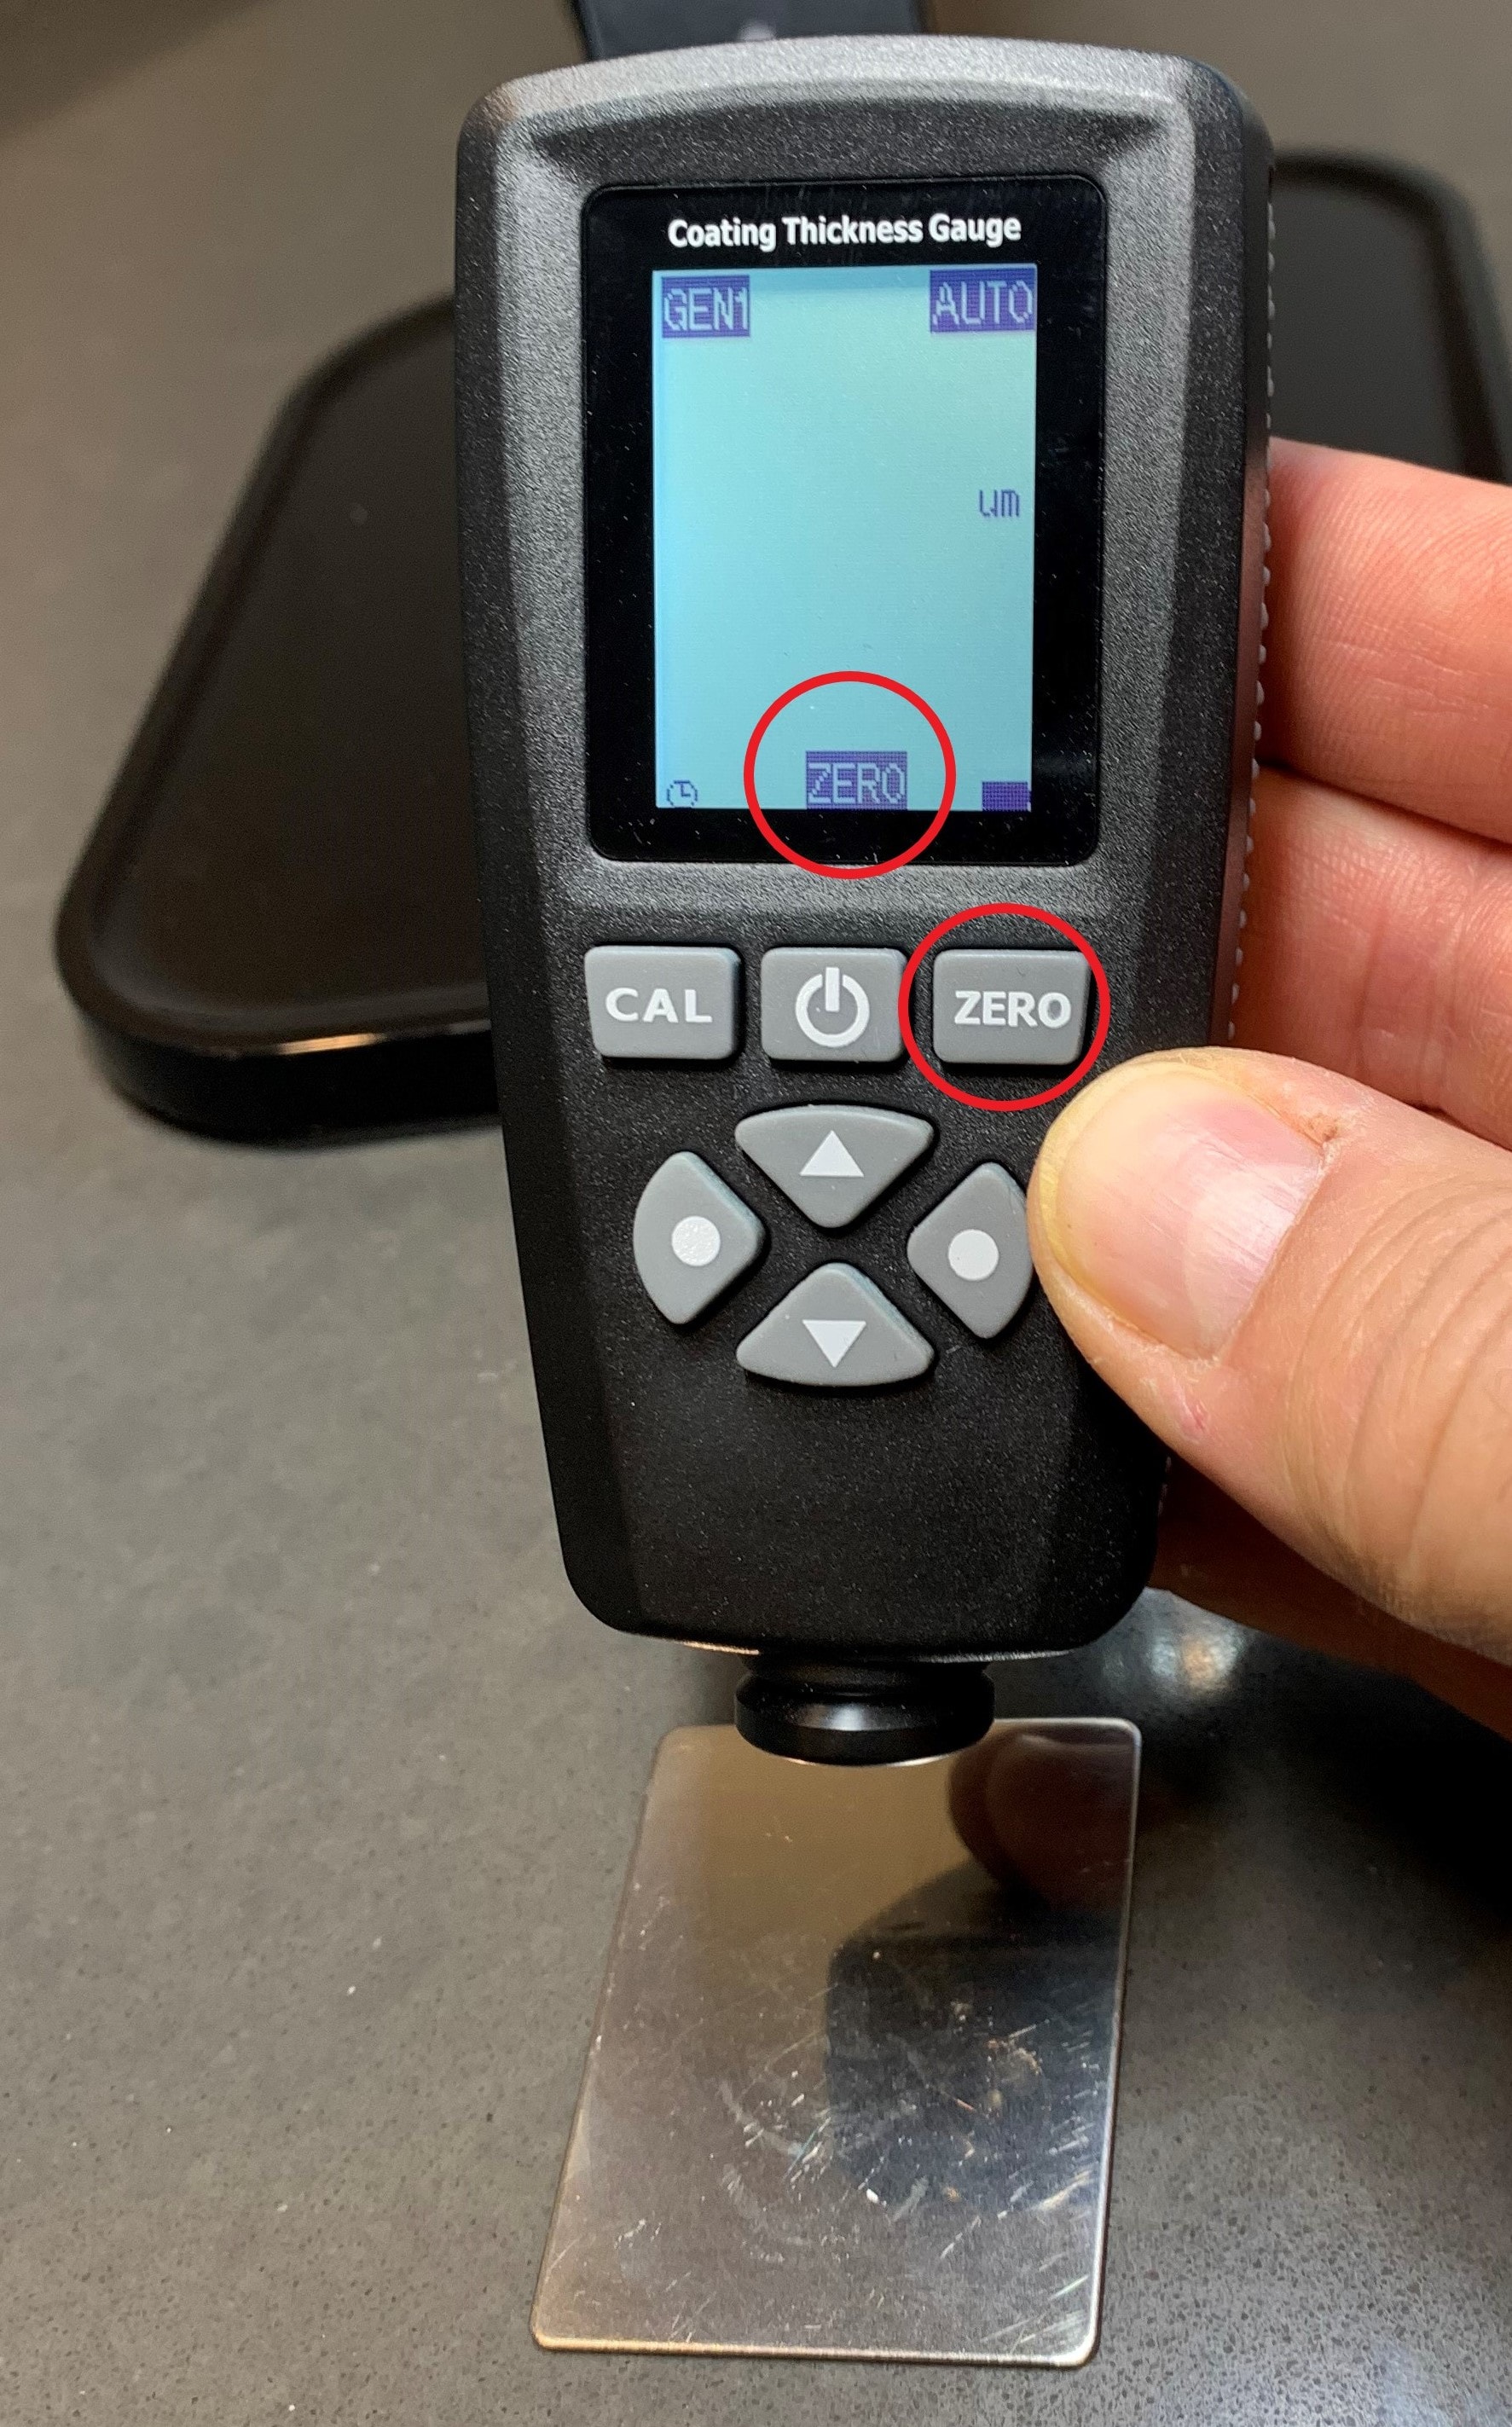
- Take three measurements of the Zero Plate. You should see measurements of “0.0” on the screen.
- Press and hold the “Zero” button again for a few seconds to exit out of this mode.
Now that your Mil Gauge has been Zeroed, the next step is to calibrate.
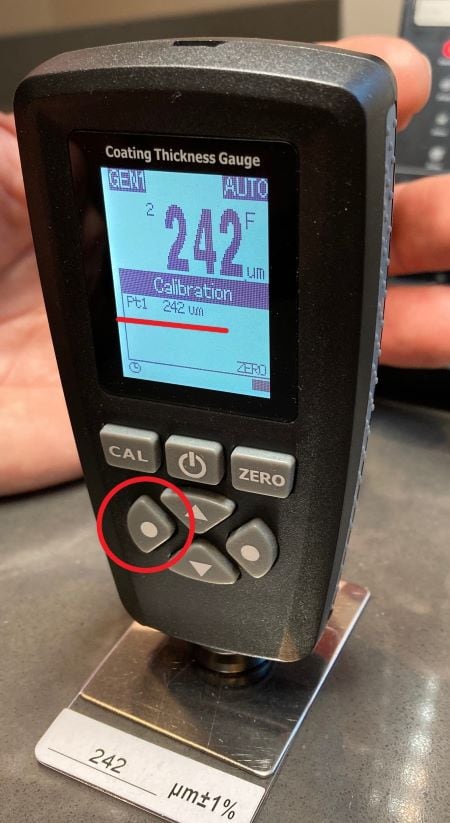
- Press and hold down the “Cal” button for approximately 3 seconds until the word Calibration appears on the screen.
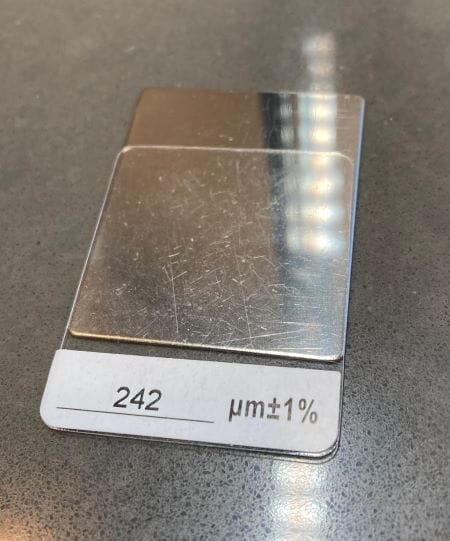
Placing one of the measured films included in your kit (we use the 242 film for this instruction) over the zero calibration plate you are now ready to start calibrating your device.
Place the Mil Gauge over the clear film pressing flat onto the surface allowing the gauge to take a measurement.
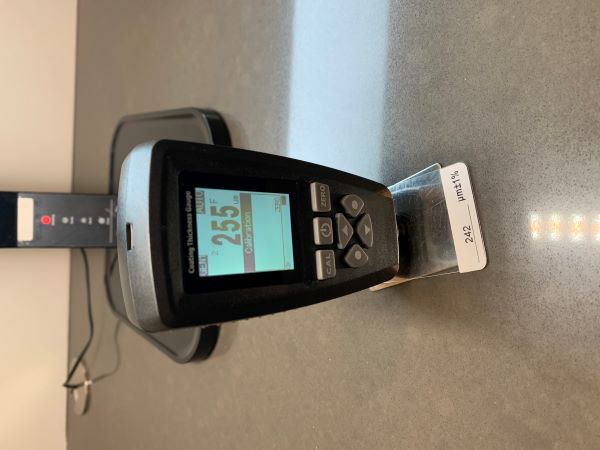
In this example, the measurement is 255 which is beyond the +or- limit of 1%. While the gauge is still in place, press the down arrow to align the number on the screen with the number on the film (in this example it is 242).
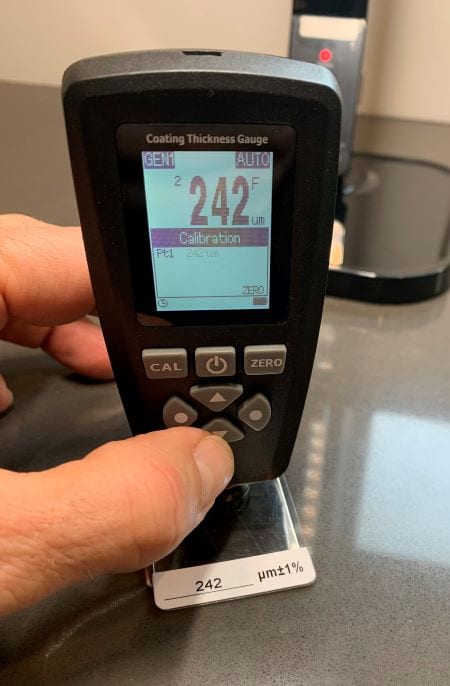
After 242 has been reached, pick up the mil gauge and press the left Navigation circle button to set that point.
Repeat this step 2 more times by taking another measurement then using the arrow buttons to match the film thickness number then pressing the left Navigation circle button to set that point.
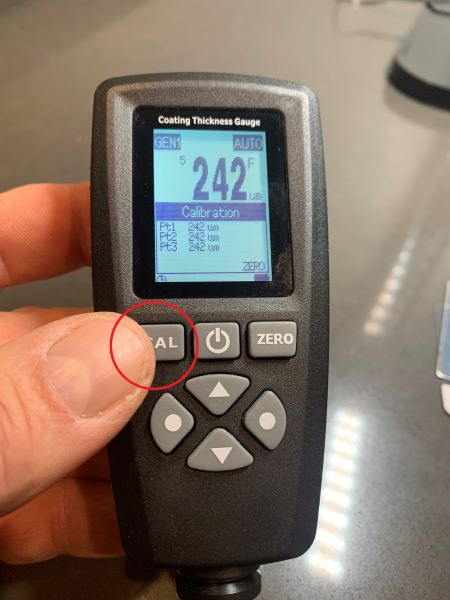
Once all three measurements are taken, calibration has been met and future measurements of this film (242 in this case) should fall with the + or – level of 1%.
- Pressing the Calibration button for a few seconds will take the gauge out of Calibration mode and you are ready to measure.
You can now set your gauge up for “Mil” thickness. To do this, use the left Navigation circle button to access the menu, scroll down and select Options > Unit Settings > mil
Pressing the Right Navigation Circle twice will take you back to the main menu. Selecting it again will Exit you to the main measuring screen. You are now ready to measure mil thickness.
Points to remember when measuring with this mil gauge:
- Calibration is an important step but isn’t something that needs to be done each time you power the unit on. It is good practice to re-calibrate after heavy use, or if the gauge is dropped or bounced around.
- When measuring mil thickness at powder gel-out or flow-out, allow the piece to cool first before placing your gauge.
- Use this gauge on flat surfaces.
- When measuring textures finishes like arteries or veins, due to the low and high spots, you should take multiple measurements. The average of these measurements will give you an estimate mil thickness of the powder application.